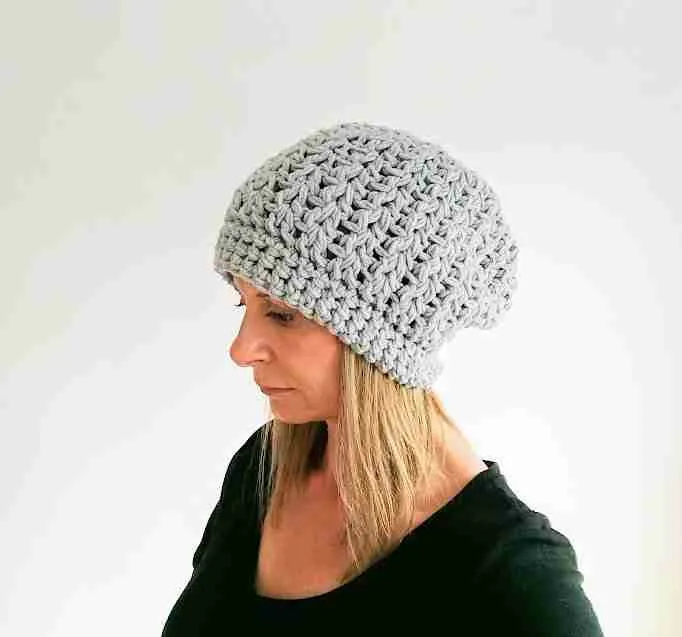
Worried about crocheting in the round, increasing and decreasing to create your first basic easy chunky ribbed beanie?
Don’t be!
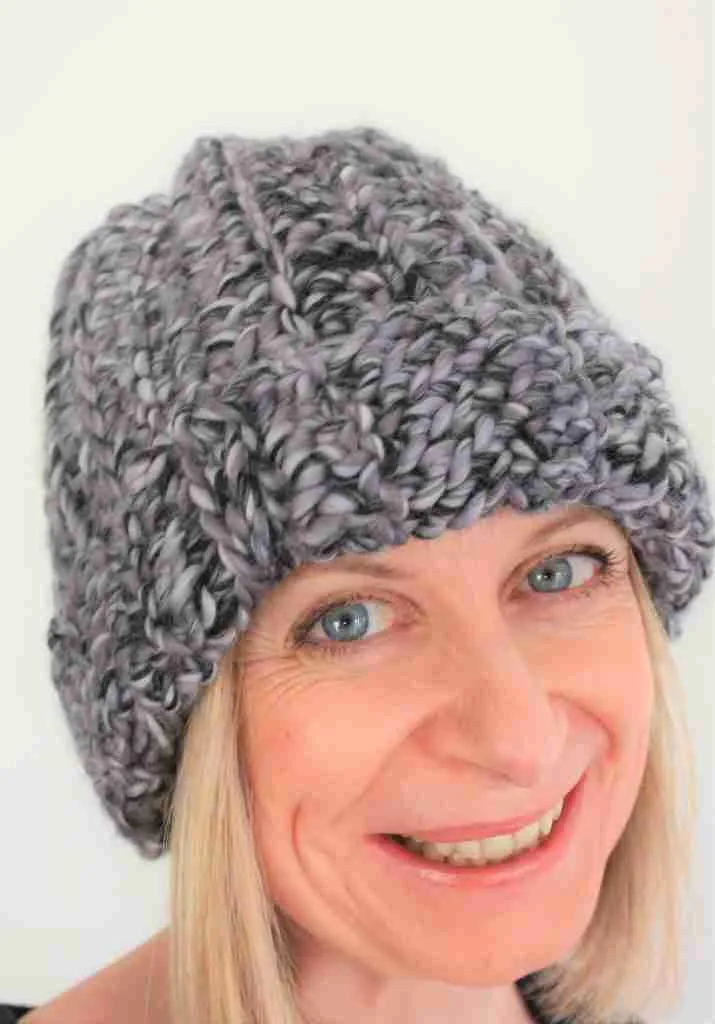
This easy ribbed beginners beanie is created by crocheting a simple rectangle which is then stitched into a tube and gathered at the top to create a hat you’ll be desperate to get outside in this winter.
It’s made with super bulky yarn so it works up in around an hour. The chunky look makes this a perfect crochet beanie for men, women or transgender.
You can even customise your beanie to add more of a foldover brim or create a slouchy look for the hipster in your family.
It ticks all the boxes, what’s not to like?
If you’re looking for free men’s crochet beanie patterns, check out my pinterest or pin it for later here
Add to you Ravelry Queue here
(Some of my posts contain affiliate links. If you buy something through one of these links it won’t cost you a penny more but I get a small commission. For example as an Amazon Associate, I earn from qualifying purchases that you make if you click one of my links)
What Materials Do I Need To Crochet My Chunky Yarn Ribbed Beanie?
Approx 200m Size 6 Super Bulky Yarn
I used King And Eye Pure Merino but you can substitute with any of my favourites in my Amazon Shop or here at LoveCrafts
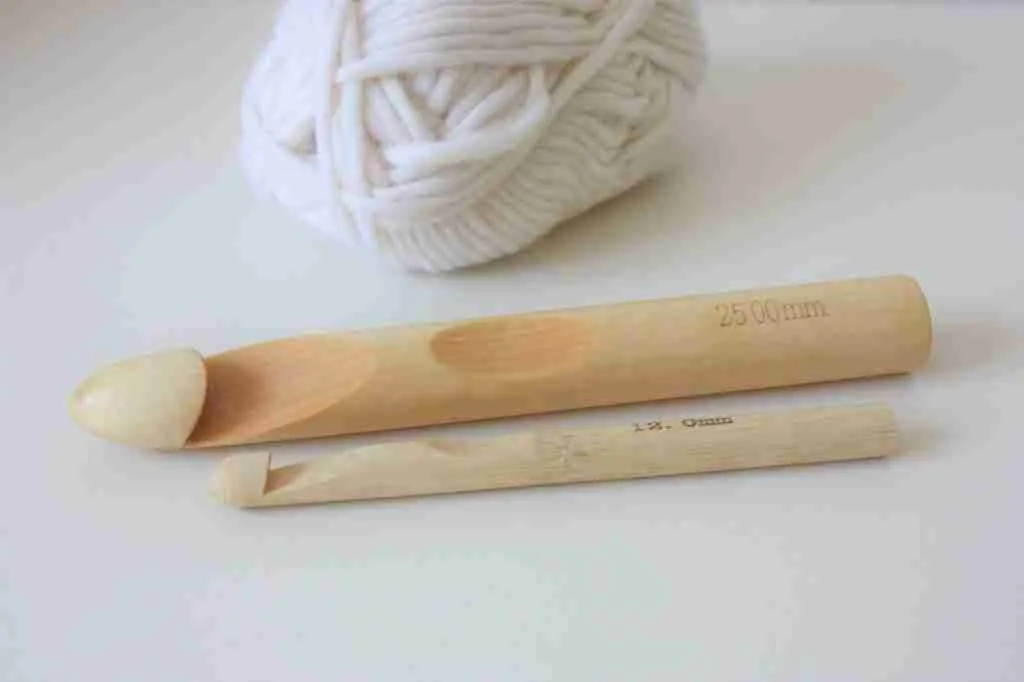
8mm (Size L) Crochet Hook
I would usually use a 10 or 12mm hook with yarn of this size but I wanted a really snuggly, dense and cosy fabric so I sized down.
Double crochet is a tall stitch and if I had used my usual hooks there would have been gaps between the ridges – pretty but breezy!!
Which Stitches Do I Need to Crochet My Easy Ribbed Beanie?
This pattern is classed as a beginners pattern so I have deliberately kept things simple.
You may not have tried Back Loop Only or Front Loop Only stitches but once you know where to insert your hook it’s super easy (and there are pictures to talk you through it ;o))
Just a note: some patterns refer to the stitches in UK or US terms – although the stitches use the same techniques they are (rather confusingly) named differently.
For example, a chain stitch & a slip stitch is the same in both terms but a single crochet in US terms is known as a double crochet in UK terms!!
ALWAYS check to see if your pattern uses UK or US terms to avoid getting frustrated and more importantly a project that just looks nothing like you had planned!!
If you’re not sure about whether your use UK or US terms in your previous projects you can use this really handy sheet to help you
All stitches used in my patterns are US stitch terms
- Chain (Ch)
- Slip stitch (Slst)
- Double Crochet (DC)
- Double Crochet Back Loop Only (DCBlo) – see tutorial below
- Double Crochet Front Loop Only (DC Flo) – see tutorial below
Do I Need A Gauge Swatch?
I have added a gauge measurement (a 10x10cm square that you work up to test your stitch size) for you to check that your hat will be a similar size to the one I created for a typical teenage/adult head, whether you’re creating your crochet beanie for men or women the sizes should still work.
If your 10x10cm swatch is bigger it may mean that you use more yarn and you may have to use a slightly smaller hook to get the same gauge. If your swatch is smaller then you may have to use a larger hook to ensure your beanie is the correct size.
I know it’s a step we ALL want to ignore but checking your gauge is a really important habit to get into, as once you progress to more complicated projects it plays an important role in making sure your project is the right size.
Trust me when I say you DON’T want to spend hours creating something beautiful that will only fit your six year old next door neighbour (although I’m sure she would love it!)
Gauge: 10 stitches x 4 rows = 4 x 4 inches. (10x10cm)
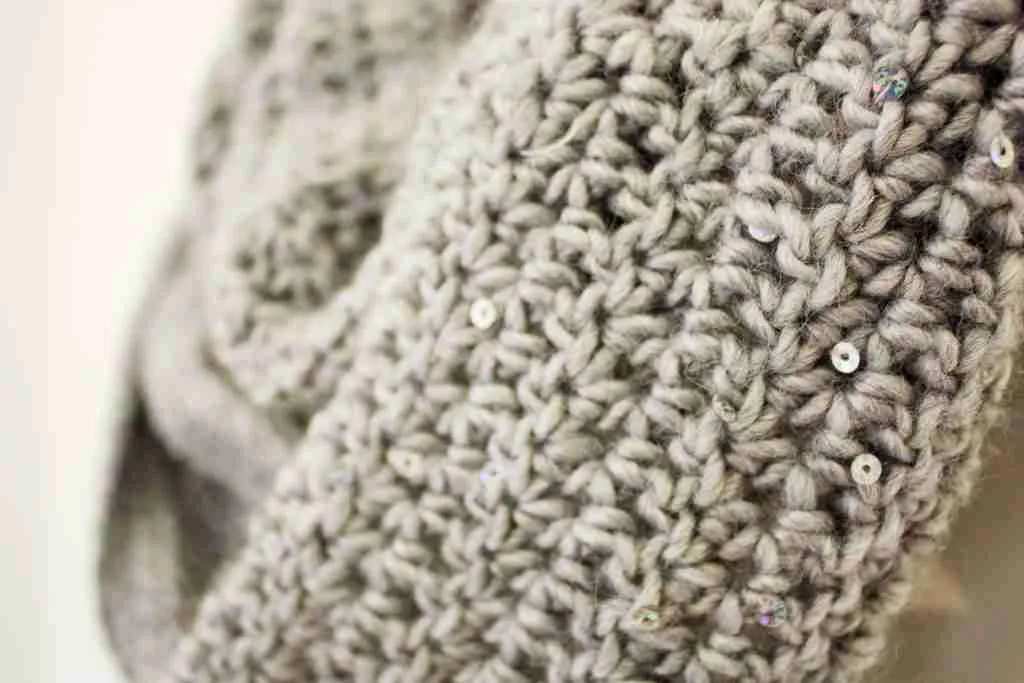
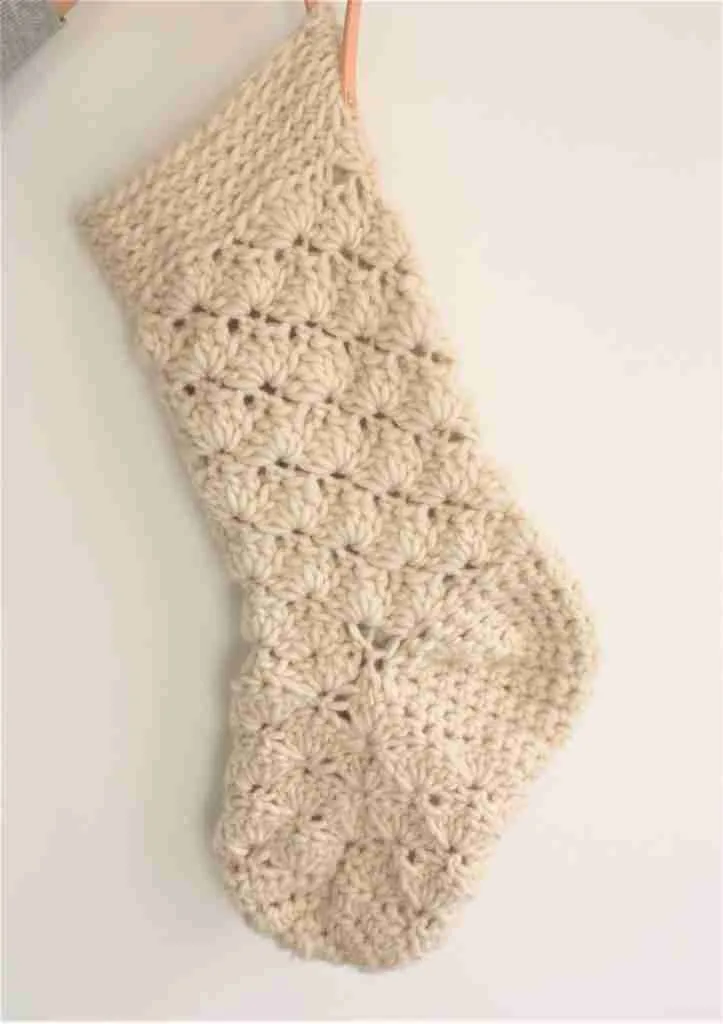
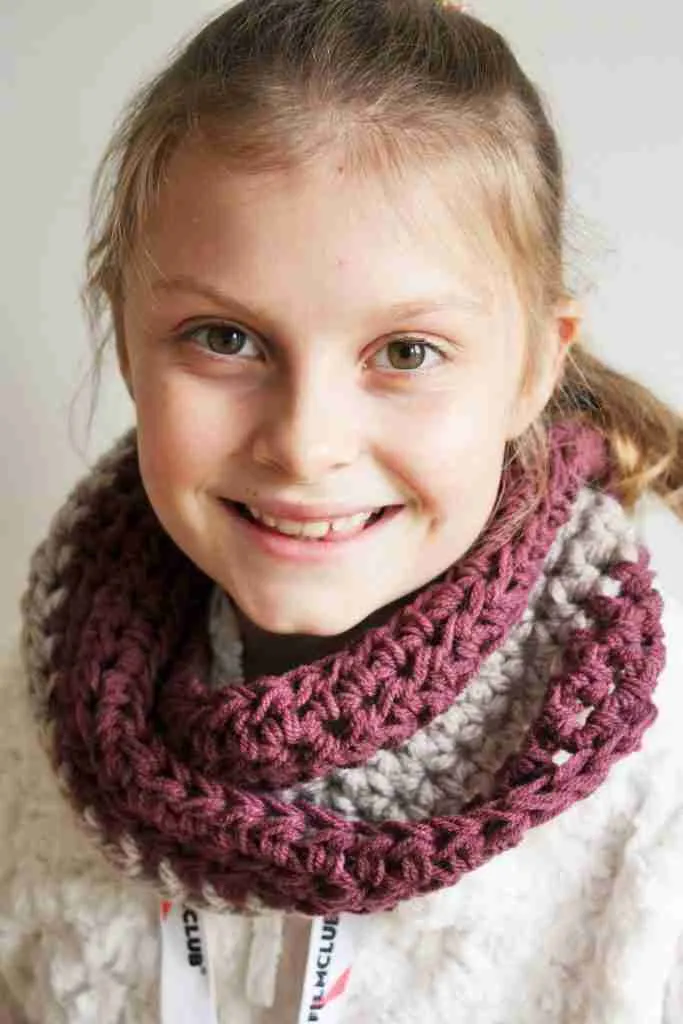
More Easy Free Crochet Hat Patterns you might like……


How Do I Crochet My Easy Chunky Ribbed Hat With Super Bulky Yarn?
(Chain 2 at beginning of row does not count as a stitch)
FOUNDATION CHAIN
Chain 25 +3 for your turning chain.
Yarn Over (YO), Double Crochet (DC) into the 4th chain then DC into every remaining stitch. Turn your work.
ROW 1
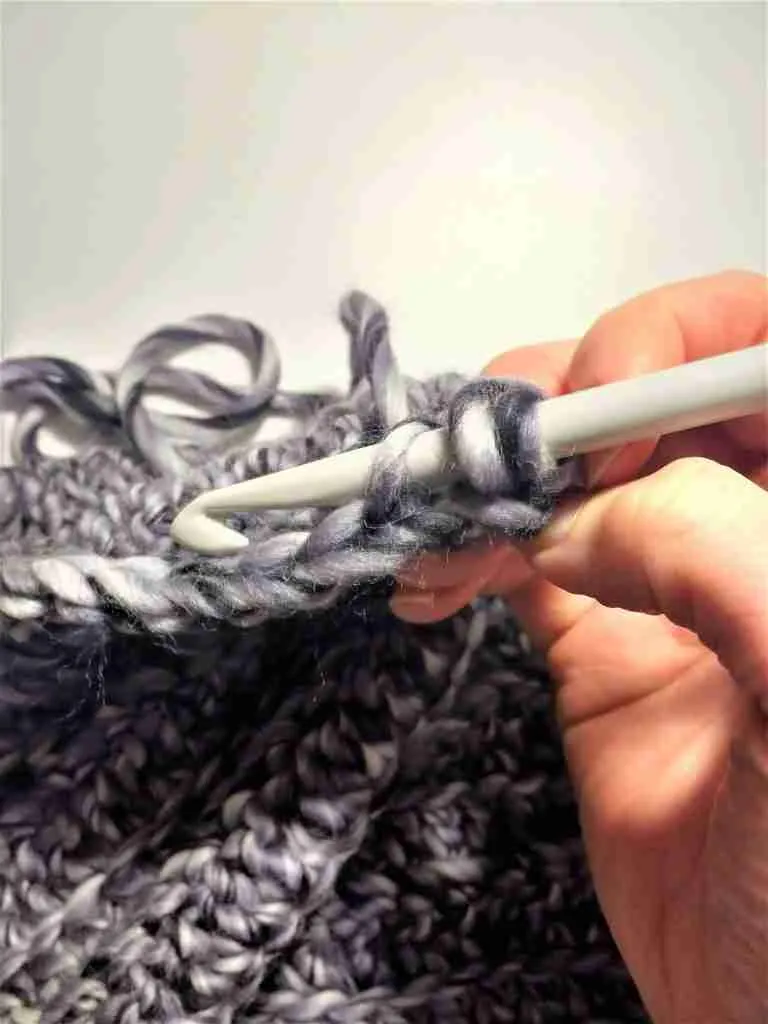
CH3, DC into the back loop only. If you’re not sure how to do this hold your work so you can see the top of the stitches, they should look like a ‘V’ with the bottom of the V pointing away from the hook. Each side of the V is one of the loops of the stitch.
After you have YO insert your hook into the loop that is furthest away from you (see the picture below), YO then pull up a loop exactly as you would with a normal DC, you should now have 3 loops on your hook. YO and pull through 2 loops, YO and pull through the final 2 loops. You have now completed your first DCBlo!
Continue with this stitch along the row, this will allow a ridge to develop on the right side (facing towards you). Turn your work.
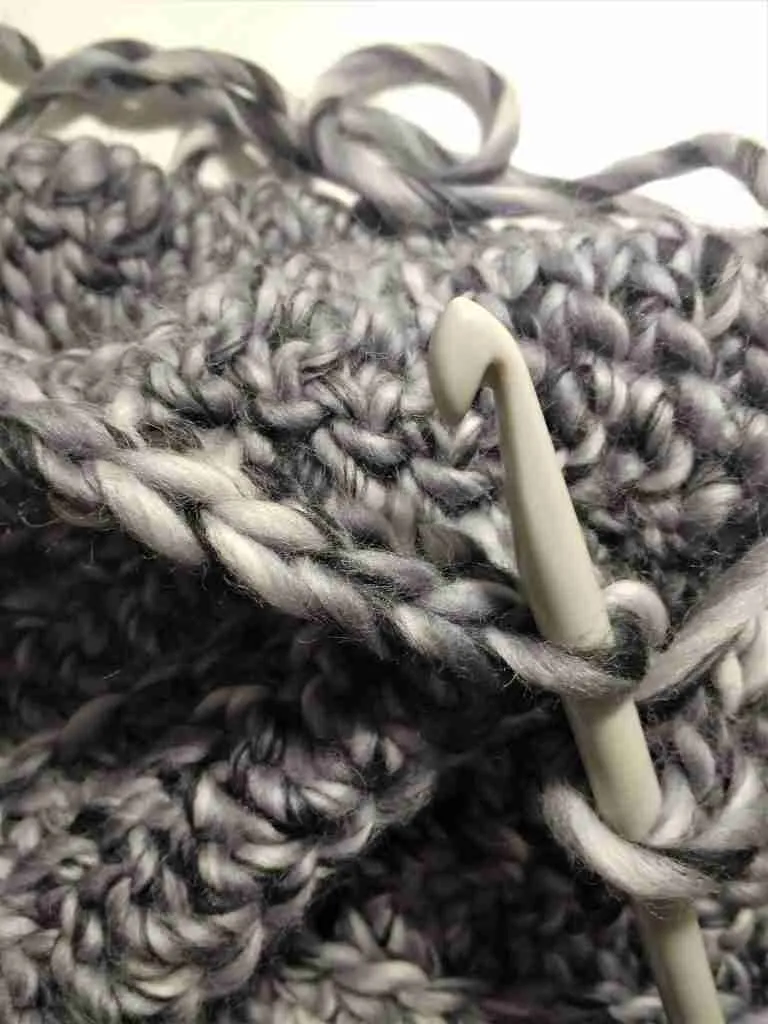
ROW 2
CH2, DC into the front loop only. This is the same as the stitch above only this time when you turn your work to look at the top of the stitch you will YO and insert your hook into the side of the V closest to you (see the image below).
Continuing along with this stitch will encourage the rib to develop on the right side (facing away from you this time as you turned your work). Turn your work.
That’s it!! Repeat row 1 & 2 so the ribs develop only on one side of the fabric (this will give you a smoother surface on the wrong side when you have finished, which will not only make the hat more comfortable it will more importantly avoid the dreaded ‘hat hair’ look!)
Repeat for 22 rows, or whatever your head circumference has measured as.
You should end up with a lovely soft squishy fabric that looks something like the image below which measures approx 22 x 11 inches (56x28cm).
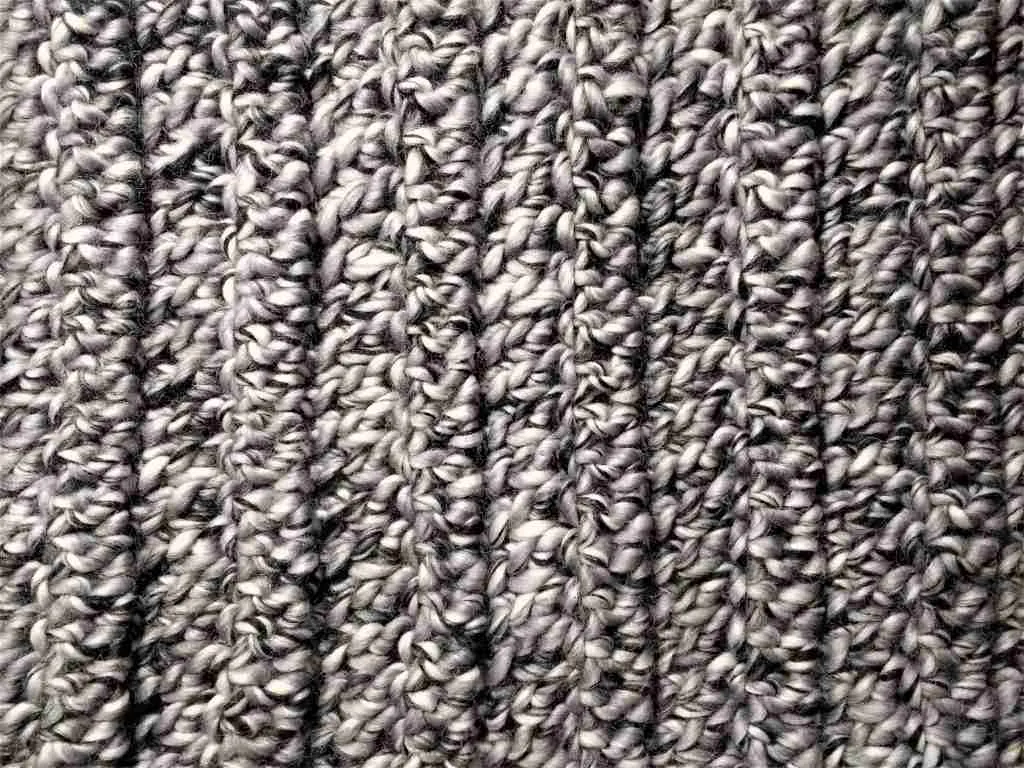
Fold the fabric with the right sides (ribbed) together with the ribs running vertically.
Slst the long edges together – I did this through the front loop only so the seam is not so obvious when you turn the beanie right side out (Slst will give a stronger seam than sewing).
Leave a long tail (about 10 inches/25cm is a good working length) and cut the yarn.
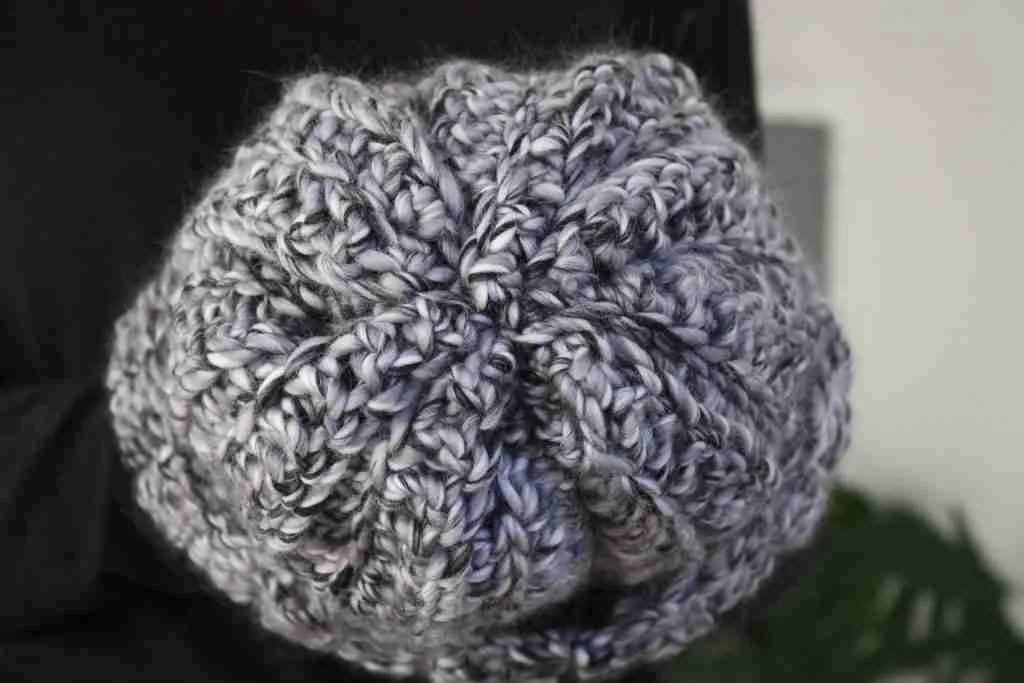
Using a blunt tapestry needle (I like these ones) weave in and out of the top of the stitches of the tube you have created, I made one stitch per ridge.
Once you get back to your starting point pull the yarn gently to gather the fabric into a beanie shape.
Add More Slouch
If you prefer a more hipster slouchy beanie style for y9our crochet beanie you can add more chains to your original foundation chain. This is also useful if you would like the fold on your brim to be larger. Always remember to add your +3 chains for your turning chain when you are creating your foundation chain.
Add a Pom Pom
Make a 4 inch (or bigger if you want drama!) pom pom.
Wrap a LONG length of yarn around a piece of cardboard that is 4 inches square about 80-100 times.
Carefully slide the looped yarn off of the cardboard onto a flat surface.
Cut a length of yarn, about 8 inches, wrap it horizontally around the centre of the yarn bundle several times, pull tight then tie this yarn length to form a figure of 8 shape, secure with a knot.
Cut the looped yarn open at each end and trim to the size and shape you prefer – If you’re more skilled than I am and can create a shape other than a sphere then do make sure you send me a photo!!
Do not trim the ties or you will end up with a fantastic fluffy ball that the cat can play with all day but sadly no way of fixing it to your hat!
Using a tapestry needle feed the ties through the fabric and secure your pom pom to your beanie from the inside.
To finish you just need to decide whether you’re going to wear it with a fold up brim or loose and slouchy like the dude you are!
How did you get on? Let me know if this was easy for you….
Want to know more? Check out Crochet College – it’s free!
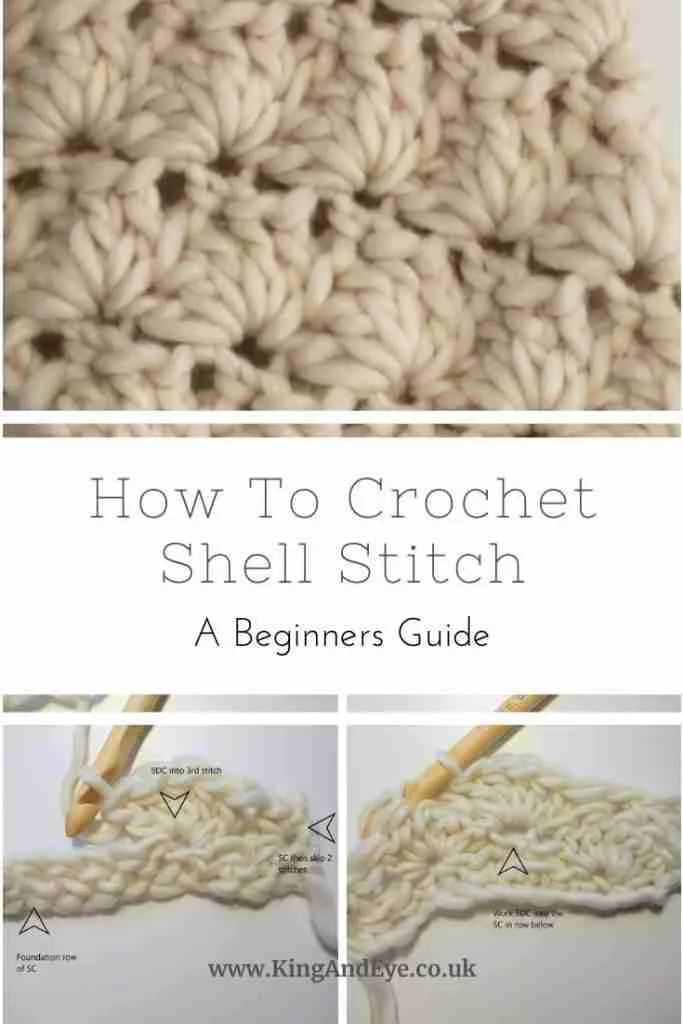
If you liked this free crochet pattern you might like these beginners crochet too….


Enjoyed reading the content above, really explains everything in detai,,the article is extremely interesting
and effective.
King regards,
Balle Dencker
why not a video of the chunky beanie. would be so much easier