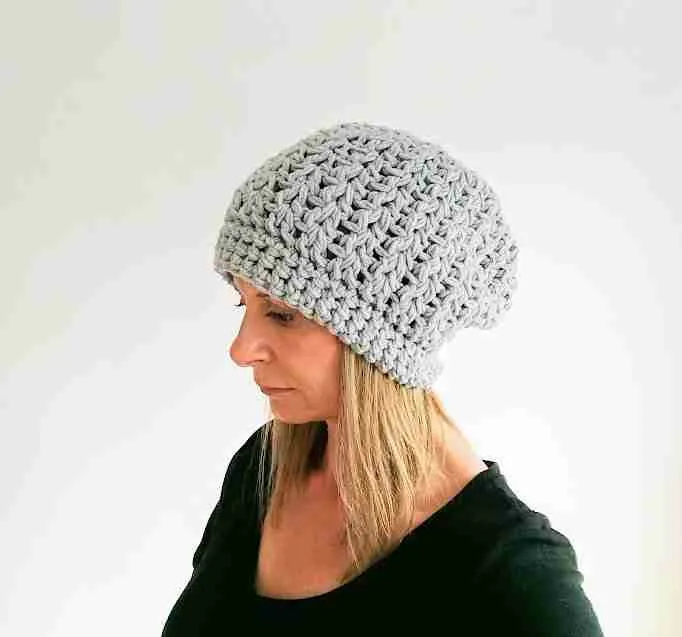
This quick and easy slouchy beanie crochet pattern may look complicated with it’s zig zag crochet stitch but it’s actually very simple once you have mastered how to complete the V Stitch. (Don’t be scared if you’re a beginner, it’s only a clever combination of double crochet stitches).
I designed it to work with both chunky and bulky yarns as they give such a lovely texture to the stitches and you can adapt it as a mens or transgender crochet beanie pattern too.
I made mine in cotton which means it’s popular for summer too (it never gets too warm in North West England!)
Crocheted in the round from a magic circle it is worked top down so it can be adapted to any size from a cosy beanie or add more rows to create a more slouchy hipster look.
If you’ve been looking for slouchy hipster transgender beanie patterns you might want to follow me on pinterest or Pin this free crochet beanie pattern for later here
Buy the ad free PDF on Etsy here
Add to your Ravelry queue for another day here
What Materials Do I Need To Crochet My Slouchy Beanie?
(Some of my posts contain affiliate links. If you buy something through one of these links it won’t cost you a penny more but I get a small commission. For example as an Amazon Associate, I earn from qualifying purchases that you make if you click one of my links)
Bulky Weight Yarn (size 5) – approx 350m I used two strands held together
8mm & 6.5mm Crochet Hook
Scissors
Tapestry needle
See more of my favourite yarns & tools in my Amazon shop
Which Stitches Do I Need To Crochet My Chunky Slouchy Hipster Hat?
Stitches are US terms
ch (chain)
sl st (slip stitch)
SC (single crochet)
DC (Double Crochet)
Just a note: most patterns refer to stitches as being in UK or US terms – although the stitches use the same techniques they are (rather confusingly) named differently.
For example, a chain stitch & a slip stitch is the same in both terms but a single crochet in US terms is known as a double crochet in UK terms!!
ALWAYS check to see if your pattern uses UK or US terms to avoid getting frustrated and more importantly a project that just looks nothing like you had planned!!
If you’re not sure about whether your use UK or US terms in your previous projects you can use this really handy sheet to help you
Do I Need a Gauge Swatch?
I have added a gauge measurement (a 10x10cm square that you work up to test your stitch size) for you to check that your hat will fit you.
Checking your gauge is a really important habit to get into, as once you progress to more complicated projects it plays an important role in making sure your project is the right size.
Trust me when I say you DON’T want to spend hours creating something beautiful that will only fit your six year old next door neighbour!
Gauge: 8DCx6rows = 4 x 4 inches.. (10x10cm)
If your swatch is larger then use a smaller hook, if your swatch is smaller you may find that a larger hook hlps to give you the right number of stitches.
Notes: The hat pattern is worked in the round, this means it is worked as a continuous loop so you don’t have to worry about joining it together when you’ve finished and it means you don’t have an unsightly seam so you can just throw it on without having to look in the mirror.

Pattern Notes
The pattern is worked with two strands of yarn held together from the top down in rounds, joined with sl st.
Do not turn your work when you have joined the slst. Ch at the beginning of the row counts as a stitch.
Mark the first stitch of each round with a removable stitch marker. Move the stitch marker up as each round is completed.
Rnd 1: Using the 8mm hook. Holding two strands together, make an adjustable magic loop
To make an adjustable magic loop, holding the end of the yarn under your thumb wrap the yarn twice around the fingers of your hand to create an ‘x’ shape – the working end of the yarn will be behind your fingers.

Turn your hand so the palm is facing the floor, insert the hook under the first line of yarn and hook the working yarn (nearer your knuckles), pull this yarn under the first row of yarn so you have a stitch attached to a large loop and a tail.

Your magic loop should look something like this:

Ch 3. Work 11 DC into magic loop (YO, feed the hook through BOTH your loop and the tail YO and pull up a loop, YO and pull through). Once you have 11 DC plus your chain pull the tail to tighten. Sl st into the top of the original stitch. (12 stitches)

Rnd 2: Ch3, DC into same st, 2DC into each remaining st. Join to first st with slst. (24 stitches)
Rnd 3: Ch3, DC into same st, 2DC into each remaining st. Join to first st 3 with slst. (48 stitches). This completes the crown of your hat.
Rnd 4 This is where we will start the lace pattern. Ch3, DC into same st, *skip one st then 2 DC into the next st*, continue from * to* around.
Sl st to top of ch3.
You should still have the same number of stitches (48 stitches).
Rnd 5-11 Ch3, DC into same st, *skip one st, 2DC into the space between the bars of the two DC of the row below (i.e. the base of your last V, as shown by the hook in the image below)*. Continue from * to*, slst to top of ch3. (48 stitches)
Note: if you would like your hat to be even slouchier you could add another row of v-stiches here.

Rnd 12-16: Switch to the 6.5mm hook to ensure the brim is slightly tighter and the hat will not slide off your head!
Work in back loops only, ch1 SC into same st, SC into back loops around (46 stitches)
Tie off. Weave in ends.
Note: Your finished hat will measure approximately 11 inches wide x 10 inches top to bottom.
Optional Pom pom: Make a 4 inch pom pom. Wrap yarn around the centre of a piece of cardboard that is 4 inches square about 80-100 times. Slide the looped yarn off of the cardboard. Cut a length of yarn, about 8 inches, then tie this yarn length around the centre of the looped yarn bundle to form a figure of 8 shape, secure with a knot. Cut the looped yarn open at each end and trim. Do not trim ties.
Finishing: Attach pompom to the top of the beanie using the long ties and a tapestry needle. I usually thread one tie through the needle then feed it through just to the right of the centre hole, then repeat with the second tie on the left side. Tie the two ends together on the inside of the beanie and secure with a knot. Weave in ends.
Don’t forget to tag me oninstagram (@kingandeye) I love to see what you’ve created!
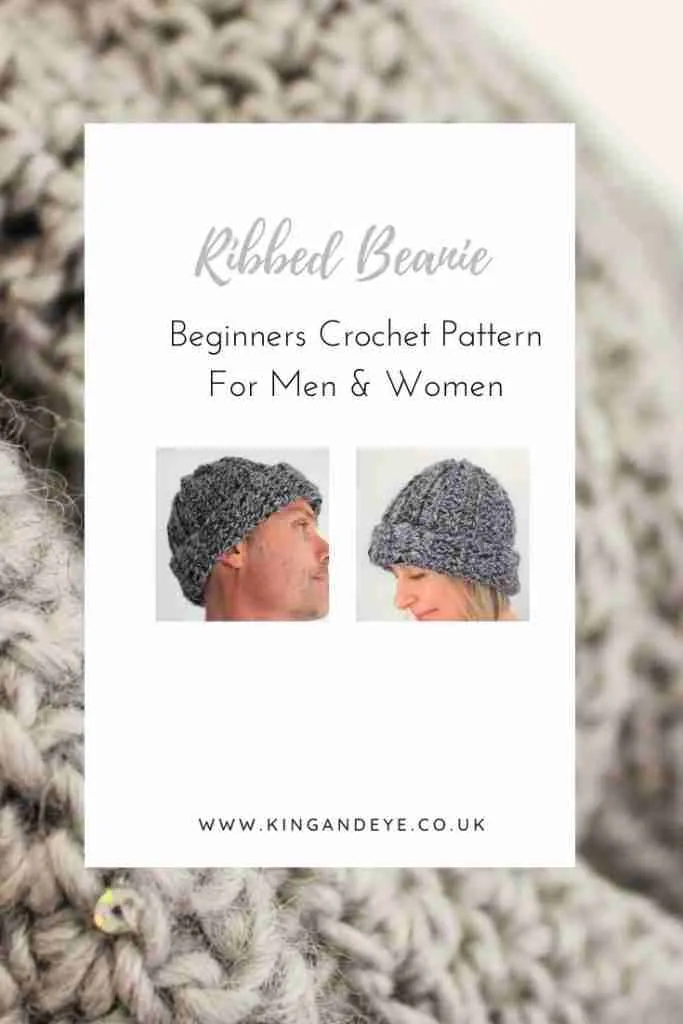
If you like this pattern you might like these…


Hi Claire, first time on you site. I would like very much to make this hat. Am I suppose to make the watch with 1 strand or 2. I get the right size with 1 strand but is way off on the height when using 2. Thank you
Hi Nicole,
I used 2 strands for the swatch and the hat but if you can get the right gaige with one strand then I would go with that. Hope you love it, don’t forget to send a photo:o) Claire
Pingback: 28 Free Crochet Hat Patterns - Carroway Crochet
Pingback: 107 Free Stash-Buster Crochet Patterns - Use Leftover Yarn! - Desert Blossom Crafts